Start with the way you shoot
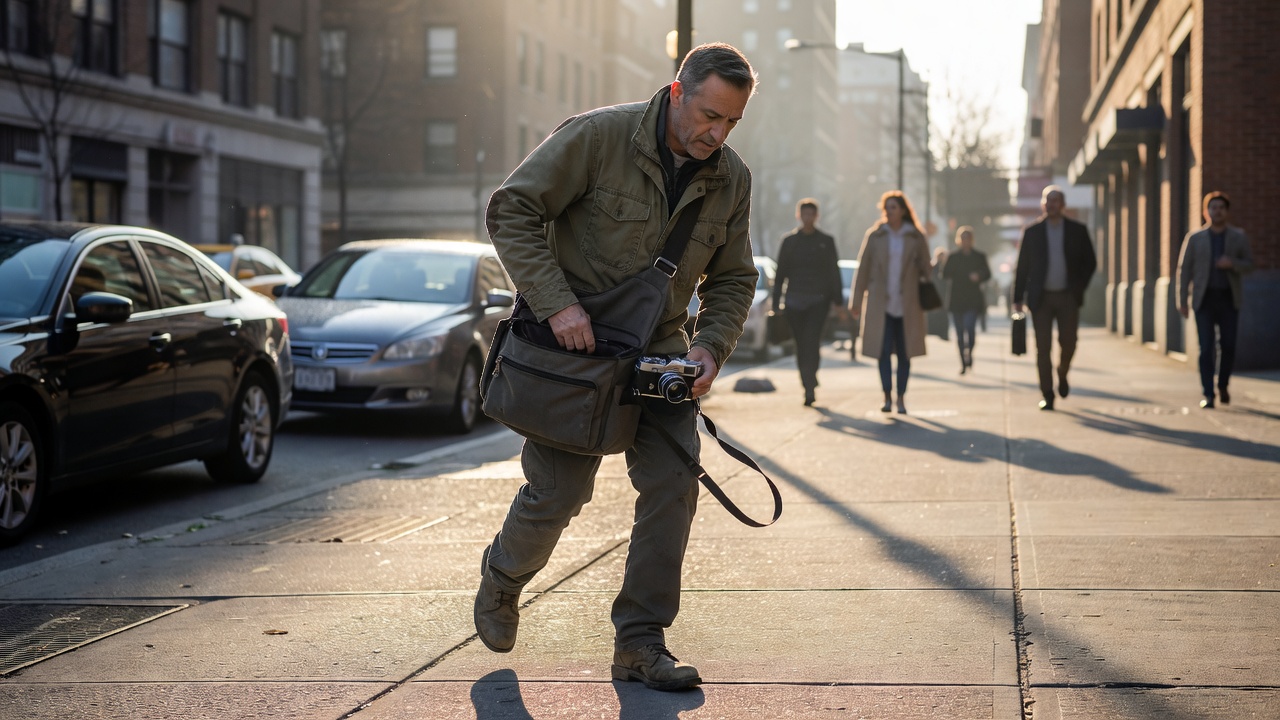
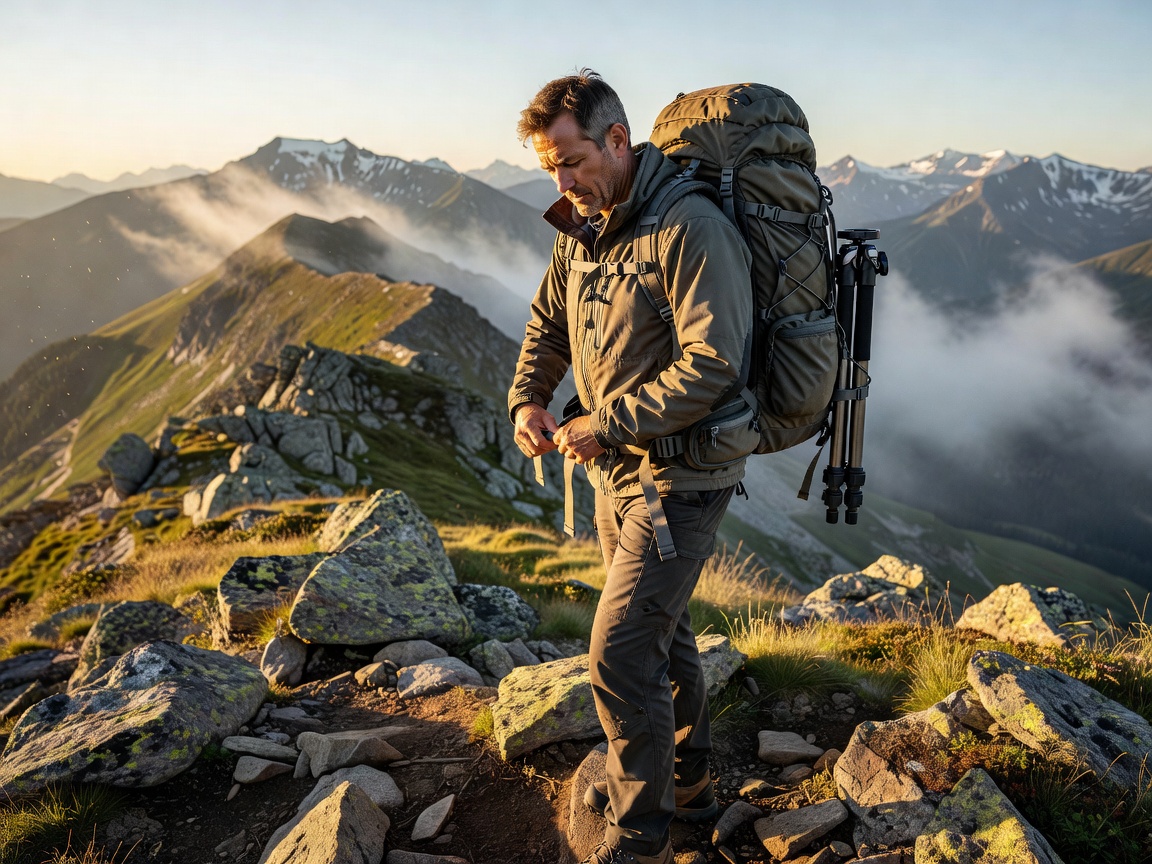
Bags are usually sold by litres and by how many lenses fit inside. Those numbers tell you very little about the day you will have. A street photographer who swaps lenses twice an hour needs something different from a hiker who sets up once at sunrise and once at sunset, even if both carry the same camera.
So we ask three questions before looking at any bag. How often do you change lenses or reach for accessories while shooting? How long and how far do you carry the kit between those moments? And where does the bag travel: on foot, by bicycle, in the overhead locker or in the boot of a car? The answers point to a carrying style before they point to a product.
A good bag also leaves room for the rest of your day. Water, a waterproof layer and food matter on any outing longer than a couple of hours, and a bag that is entirely padded dividers will push those items into your hands or pockets.
Access patterns compared
Where the bag opens decides whether you put it down in the mud.
Rear or back-panel access
The harness side opens, so the side against your back stays clean when you set the bag down. Secure in crowds, slower to open.
Side access
Swing one strap off, pull the camera out, keep walking. Ideal for a body with a mounted lens; less useful for reaching spares.
Top or roll-top
Good for a day pack with a camera cube; weatherproof roll-tops are slow but keep rain out.
Front-swing sling
Rotate the bag to your chest and work from it like a table. Fast, but one shoulder takes the load.
Editorial comparison: bag styles
All ratings are qualitative editorial judgements for typical bags in each style.
| Style | All-day comfort | Access speed | Tripod carry | Best for | Adds little when… |
|---|---|---|---|---|---|
| Hiking camera backpack | High | Medium | Good, often side or front straps | Landscape, long walks | You only carry one body and lens |
| Everyday backpack with insert | Medium to high | Medium | Varies | Commuting plus shooting | You need fast lens swaps |
| Sling bag | Medium | High | Limited | Street, travel, events | Kit weight goes past a few kilograms |
| Messenger or shoulder bag | Low to medium | High | Poor | Documentary, weddings | You walk long distances |
| Rolling case | High on smooth ground | Medium | Strapped outside | Studio, airport to hotel | Terrain includes stairs, sand or trails |
| Camera cube in your own pack | Matches pack | Low | Matches pack | Treks where camera use is occasional | You shoot constantly |
Compatibility and fit checklist
- Torso length matches the harness; adjustable harnesses suit more body shapes
- A load-bearing hip belt for kits over roughly five kilograms
- Your longest lens fits mounted on the body, hood reversed, in the main slot
- Dividers can be rearranged for your specific lenses, not a showroom layout
- Tripod straps or a pocket that suits your tripod's packed length and diameter
- Laptop or tablet sleeve only if you actually travel with one
- Rain cover included or a weather-resistant shell with sealed zips
Travelling by air
Cabin baggage limits are set by each airline, not by a single universal rule. IATA publishes guidance on cabin bag dimensions, but carriers apply their own sizes and weight limits, and budget airlines are often stricter. Measure your bag fully packed, including side pockets and any tripod straps, and check the airline's current page before booking.
Spare lithium-ion camera batteries generally have to travel in the cabin rather than in checked baggage, with terminals protected from short circuits. Carry them in their caps or a battery pouch. Many photographers keep the camera and lenses in a cabin bag and check the tripod and stands, which are robust and tolerate handling. A slim camera insert inside an ordinary travel backpack also draws less attention than an obvious camera bag.
Selection tree: which bag fits your scenario?
Do you change lenses more than a few times an hour?
Yes, and the kit is light
A sling or messenger, worn so you can work from it without setting it down.
Yes, but the kit is heavy
A backpack with side access for the body plus a belt pouch for the next lens you will need.
No, I walk long distances between setups
I carry a tripod and filters
A hiking camera backpack with rear access, hip belt and tripod straps.
I also carry food, layers and water
Your own trekking pack with a camera cube, plus a shoulder-strap clip for quick shots.
Mostly cars, studios and airports
A rolling case for the heavy items and a small sling for working on location. See lighting kits if stands and modifiers travel with you.
Shortlist principles
Try it loaded
Bring your own kit to a shop or check the return terms. An empty bag always feels good.
Fewer, better pockets
A handful of dedicated pockets beats a maze; you should find cards and batteries by feel.
Repair support
Makers such as Lowepro, Think Tank, Peak Design, f-stop and Shimoda publish warranty and repair routes; buckles and zips are the usual first failures.